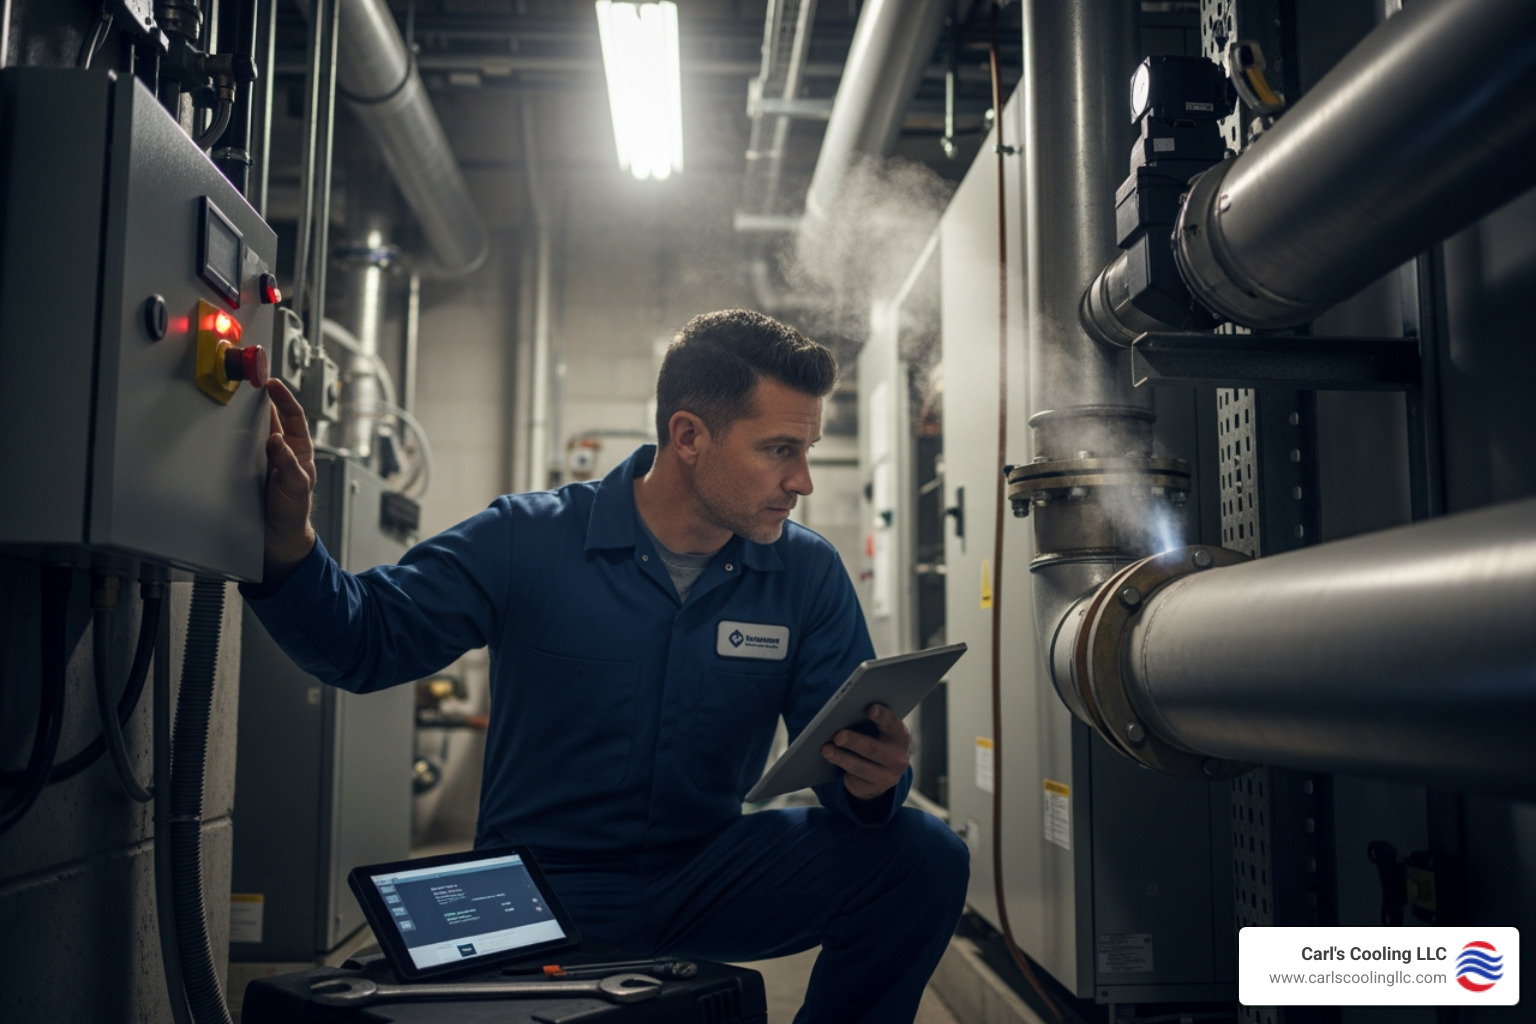
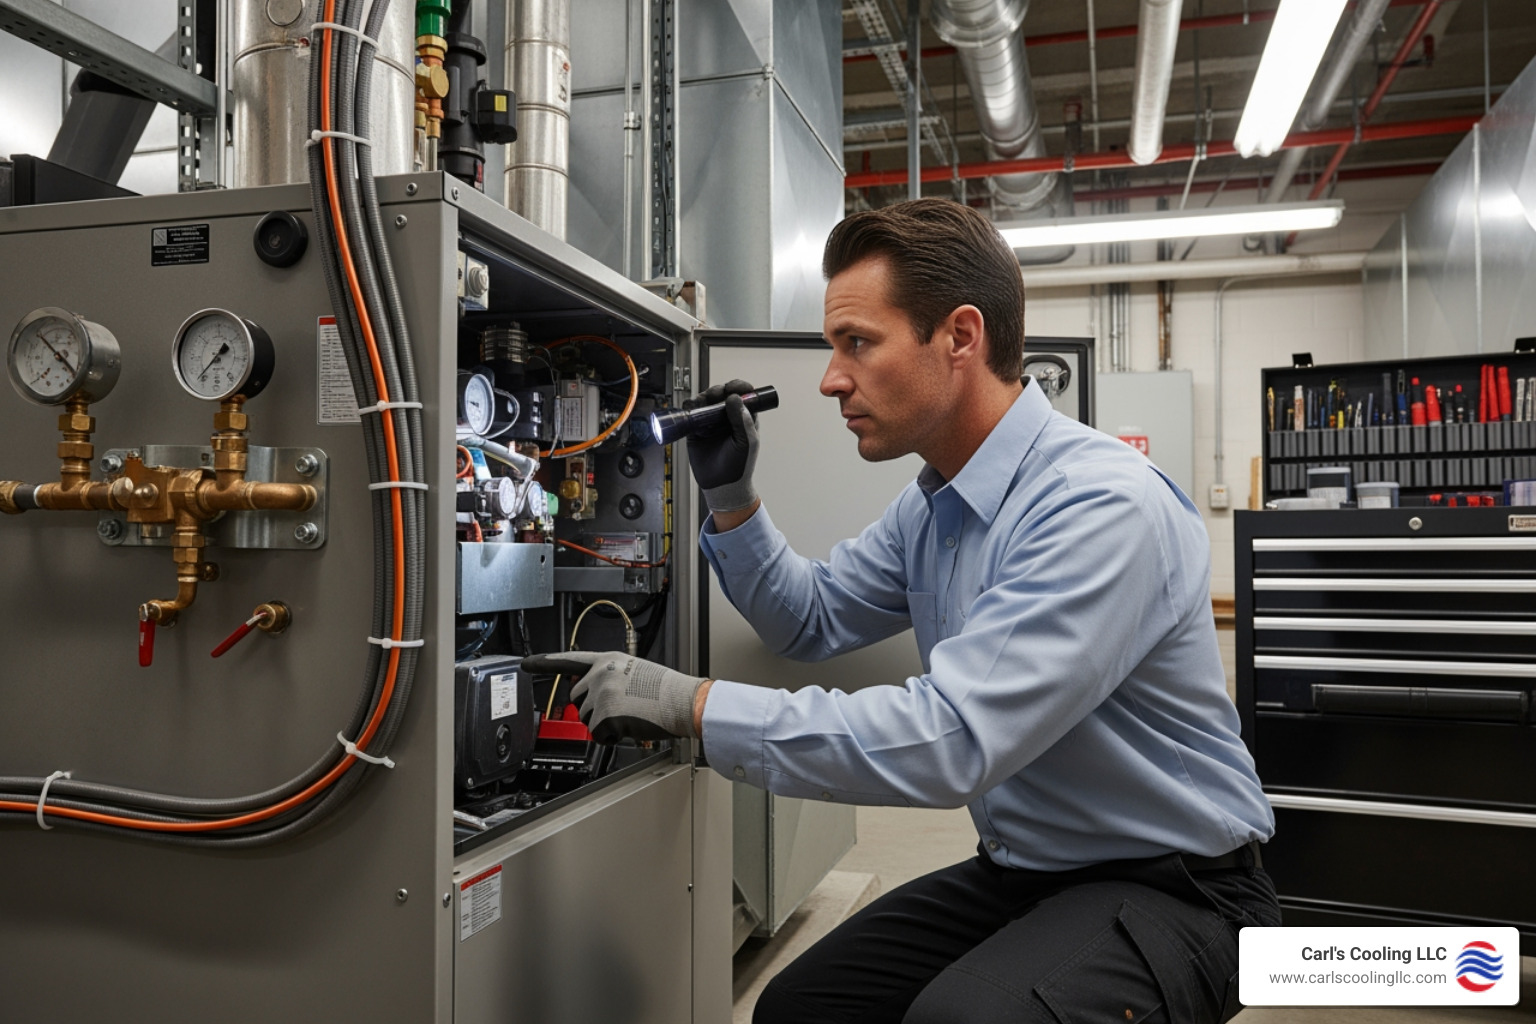
As winter approaches, it’s crucial to ensure your HVAC system is ready to keep your home warm and comfortable. A thorough inspection can help identify potential issues early, preventing unexpected breakdowns during the colder months. Understanding the importance of HVAC inspection and knowing what to look for can make a significant difference in your system’s performance and reliability.
SIGNS YOUR HVAC SYSTEM NEEDS AN INSPECTION
There are several signs that indicate your HVAC system needs an inspection. Paying attention to these signs can help you address issues early and ensure your system runs efficiently.
1. Unusual Noises: If you hear strange sounds like banging, clanking, or squealing coming from your HVAC system, it’s a clear indication that something is wrong. These noises could signal loose components, motor issues, or other mechanical problems that require professional attention.
2. Inconsistent Temperatures: If some rooms in your home are significantly warmer or cooler than others, it might indicate a problem with your HVAC system. Poor airflow or issues with the thermostat could be the cause. An inspection can identify and resolve these inconsistencies.
3. Higher Energy Bills: A sudden increase in your energy bills without a corresponding increase in usage can indicate that your HVAC system is working harder than it should. This inefficiency is often due to dirty filters, leaks in the ductwork, or failing components.
4. Frequent Cycling: If your HVAC system turns on and off more frequently than usual, it could indicate a problem with the unit. Short cycling can strain the system and reduce its lifespan. An inspection can pinpoint the cause and prevent further damage.
5. Unpleasant Odors: Foul smells coming from your HVAC system can be a sign of mold growth, burnt components, or accumulated dust and debris. Addressing these issues promptly is important for maintaining good indoor air quality.
By recognizing these signs, you can schedule an HVAC inspection and address potential problems before winter sets in, ensuring your system operates smoothly and efficiently.
KEY AREAS TO CHECK DURING AN HVAC INSPECTION
A thorough HVAC inspection involves checking several key areas of the system. Identifying and addressing issues in these areas can enhance the system’s performance and longevity.
1. Filters and Airflow: The first step in an HVAC inspection is to check the air filters. Clean or replace dirty filters to ensure proper airflow and efficiency. Inspect the ductwork for any blockages or leaks that could restrict airflow and compromise the system’s performance.
2. Thermostat Calibration: Ensure that the thermostat is functioning correctly and accurately reading the indoor temperature. Our technicians will calibrate the thermostat if necessary, ensuring your system maintains the desired comfort levels efficiently.
3. Electrical Components: Inspecting electrical connections and components is crucial for safety and functionality. Loose or corroded wires can cause malfunctions and pose a fire hazard. Our professionals will tighten connections, inspect the wiring, and replace any damaged components.
4. Blower Motor and Belts: Checking the blower motor and belts for wear and tear is essential. A malfunctioning blower motor can reduce airflow, while worn belts can cause inefficiency and additional noise. Our technicians will lubricate moving parts and replace any worn-out components.
5. Heat Exchanger and Burners: Inspect the heat exchanger for cracks and ensure the burners are clean and functioning properly. A cracked heat exchanger can pose serious safety risks, such as carbon monoxide leaks, while dirty burners can reduce efficiency and effectiveness.
6. Refrigerant Levels: If your HVAC system also includes cooling capabilities, checking refrigerant levels is vital. Low refrigerant levels can cause the system to work harder, reducing efficiency and increasing wear and tear. Our professionals will check for leaks and recharge the refrigerant if necessary.
COMMON ISSUES FOUND DURING HVAC INSPECTIONS
HVAC inspections often reveal a variety of issues that can affect the system’s performance and efficiency. Identifying these problems early allows for timely repairs and prevents more significant damage.
1. Dirty Filters: One of the most common issues is dirty or clogged air filters. A dirty filter makes the system work harder to circulate air, reducing efficiency and increasing energy consumption. Regular filter changes are essential to prevent this issue.
2. Leaky Ductwork: Leaks in the ductwork can lead to significant energy loss and reduced airflow. Our professionals often find and seal these leaks, ensuring that air flows efficiently throughout your home.
3. Thermostat Malfunctions: Malfunctioning thermostats can cause inconsistent temperatures and frequent cycling. Inspecting and calibrating the thermostat helps maintain a comfortable indoor environment and reduces wear on the system.
4. Worn-Out Components: Parts like belts and motors can wear out over time. During an inspection, our technicians check these components for signs of wear and replace them if necessary. This preventive measure reduces the risk of unexpected breakdowns.
5. Dirty Burners and Heat Exchangers: Dirty burners and heat exchangers can cause the furnace to operate inefficiently and may pose safety risks. Cleaning these components ensures safer and more efficient operation of the heating system.
Finding and addressing these common issues during an HVAC inspection helps maintain system efficiency, reduces energy costs, and extends the unit’s lifespan. Regular inspections are crucial for identifying and resolving these problems early.
PREVENTIVE MAINTENANCE TIPS FOR WINTER READINESS
Conducting preventive maintenance is essential to ensure your HVAC system’s readiness for winter. These tips can help you keep the system in optimal condition, ensuring reliable and efficient performance.
1. Regular Filter Replacement: Replace your air filters every 1-3 months, depending on usage and filter type. Clean filters improve airflow and efficiency, reducing the strain on your HVAC system.
2. Thermostat Settings: Set your thermostat to a consistent and comfortable temperature. Using programmable settings can help reduce energy consumption when you’re not at home. Regularly check and calibrate the thermostat for accurate readings.
3. Clear the Area: Ensure that the area around your HVAC unit is free from obstructions. Remove any debris, leaves, or other items that could block airflow and impair system performance. This step helps maintain efficient operation.
4. Lubricate Moving Parts: Lubricate all moving parts like motors and blower components. Proper lubrication reduces friction and wear, extending the life of the parts and improving overall efficiency.
5. Inspect Insulation: Check your home’s insulation, especially around windows and doors. Proper insulation ensures that the warm air generated by your HVAC system remains inside, improving energy efficiency and comfort.
6. Schedule Professional Inspections: Schedule regular inspections with our professionals. Preventive inspections allow for early detection of issues and timely maintenance, ensuring your HVAC system is ready to handle colder weather.
By following these preventive maintenance tips, you ensure your HVAC system runs smoothly and efficiently throughout the winter. Regular care helps maintain comfort, improves air quality, and reduces the risk of unexpected breakdowns.
CONCLUSION
Ensuring your HVAC system is ready for winter involves identifying potential issues, conducting thorough inspections, and following preventive maintenance tips. Recognizing signs that indicate a need for inspection and addressing common problems found during inspections can help maintain your system’s efficiency and longevity. Proper preparation and care ensure consistent warmth and comfort in your home during the colder months.
Our professionals at Carl’s Quality Cooling and Heating LLC are dedicated to helping you keep your HVAC system in top condition. Don’t wait for issues to arise; schedule an HVAC inspection in The Woodlands today. Contact us to ensure your home stays comfortable all winter long.


